I-Spy a Disappearing 9-patch
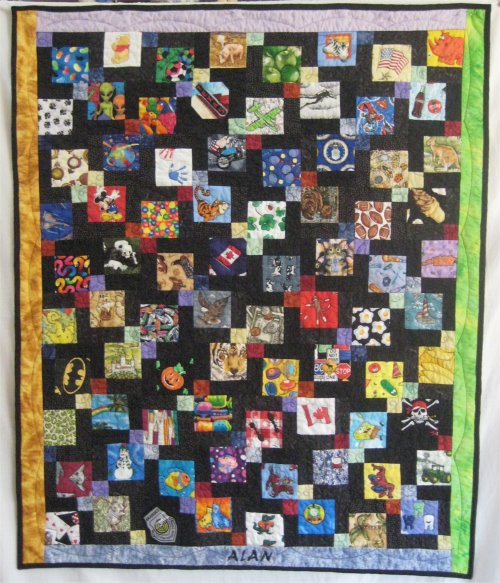

One quilt I wanted to make for Alan Sanders was an interactive quilt ... something that he could eventually play and learn with. An I-Spy quilt was the perfect vehicle! With all the fantastic novelty fabrics available, you can make a generalized I-Spy or a themed I-Spy .. and the layout choices abound.
My problem with making an I-Spy quilt is that I didn't have any (or practically none) boy-type novelty prints. That's because I have 3 *girls*. Little girls definitely have different interests from little boys. :-) So, I asked in an online quilting forum where I am active for people to swap fabric swatches with me .. their boy-type novelty fabrics for something that I could send them. The response was completely overwhelming! I was expecting a 4" square that I had requested and what I got was many, many, many swatches .. all substantially larger than 4" square. I ended up with an entire plastic wash tub FILLED with novelty fabrics! Much, much more than I needed. I did trade fabrics with several people but the majority of my quilting buddies stated most emphatically that under pain of death, NO fabric was to be sent back to them. :-)
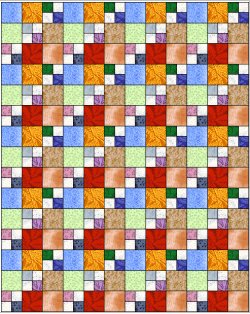 I started research potential layouts. The simplest was to just sew all the novelty fabrics smack dab up against each other, but that seemed so ordinary. I don't like to do ordinary; I like to put some sort of twist to things. While playing around with Electric Quilt, I designed a layout that combined 4" squares with 2" 4-patches and the 4-patch squares would form a diagonal white line across the quilt. It looks kinda nifty, doesn't it?
Well, I'm here to tell you that the theoretical object sometimes does NOT translate well at all into the physical object. My EQ layout called for more than 200 swatches. That wasn't a problem .. I had plenty of novelty squares to choose from! I figured that should keep Alan busy discovering items until he was into grade school. So, I steadily sewed all the patches together and the quilt began to take form on my design wall. When all the squares were sewn together, I stood back to admire my handiwork.
And nearly gagged. Oh my gosh, this thing was horrendous. It was ugly. It was horribly, horribly busy and not in a good way. My poor eyeballs were spinning around. The quilt could have been named "Vertigo". It was sooooo ugly that I didn't even take a picture of it. I studied it over the next couple of days, trying to figure HOW such a nifty looking layout in EQ could have produced such an unattractive quilt. Then it hit me (well, not literally) ... even with the white diagonal line (which turned out to be not large enough and therefore didn't have much of an impact), this quilt didn't have any spaces for the eye to rest. There was simply TOO MUCH there. It couldn't be allowed to exist. And so, I painstakingly RIPPED the entire top apart ... down to the point where all I had was the individual 4" squares and 2" squares.
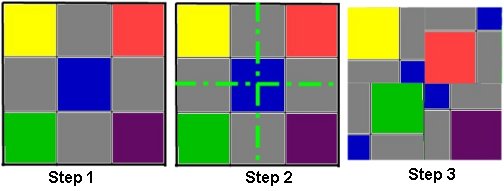 Back to the drawing board for a design. On the quilting forum, a conversation had begun about a new layout called Disappearing 9-Patch. Although 9-patch blocks are as old as the hills, *this* specific arrangement has its origins after the year 2000. It truly is a contemporary layout. And it's so simple! Take an ordinary 9-patch block. Cut it in half horizontally and vertically, creating 4 quadrants. Take 2 diagonally opposing quadrants and turn just those ones 180°. Sew all the quadrants back together. You'd never know this was a 9-patch, hence the name "Disappearing 9-Patch"! Furthermore, if you keep the north-south-east-west squares the same color (shown here in gray), the final block will have built-in resting spaces for your poor abused eyeballs. Although I don't particularly care for black in a child's quilt, black really was the only appropriate color to tone down all the different novelty fabrics that I was going to be using.
Once again, I started sewing the novelty squares back together. The 2" squares were totally abandoned ... they will be used in some other quilt. When I finished this time, there were about 80 different squares .. not nearly as many novelty fabrics in the top as before (which is probably a blessing!) and the overall effect was much more pleasing. To put just a bit more color in it, I chose to make each border a different color. Alan's name was machine embroidered on the bottom border ... just so there is no ambiguity over whose quilt it is! :-)
Because I wasn't using the entire universe of novelty fabrics, I had to pick and choose which ones to include. Of course, there are some special designs that needed to be in this quilt:
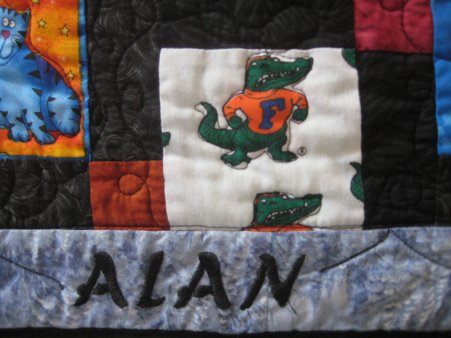 | Florida 'gators (Alan's Dad was raised in Florida) |
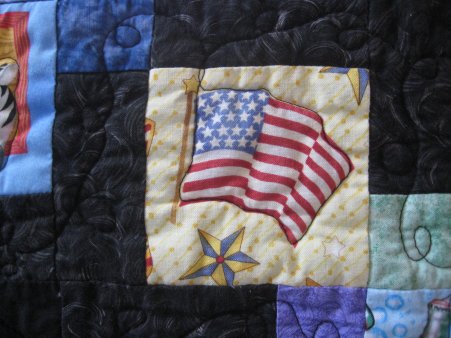 | An American flag |
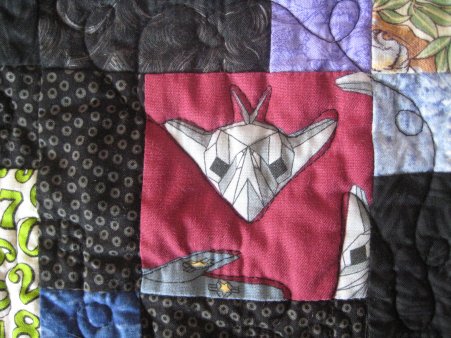 | A plane that kinda/sorta looks like a F117 Nighthawk (Alan's Dad is in the Air Force, though doesn't fly the F117, but we did know a crew chief for one!) |
 | Bananas and pirates and VeggieTales, oh my! |
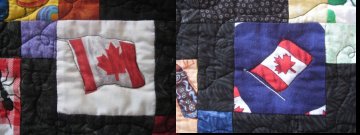 | Two Canadian flags |
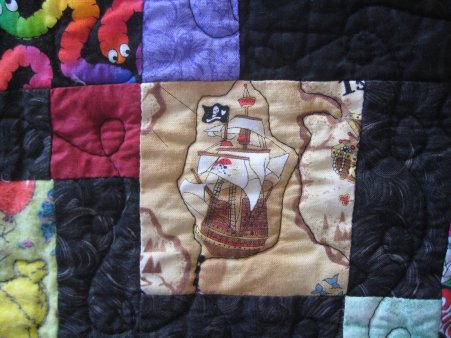 | a pirate ship |
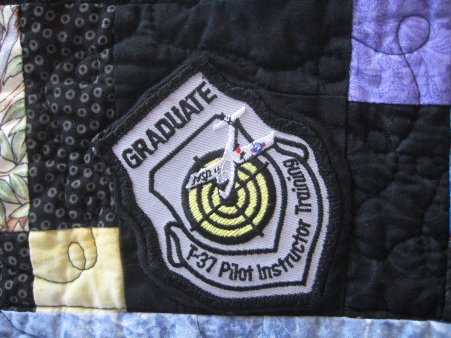 | a T-38 graduate patch. This is the real deal!! Alan's Dad is an Instructor Pilot and the T-38s are the planes that are used. How cool is that? I bet his Dad's eyes just about popped out of his head when he saw that one! :-) |
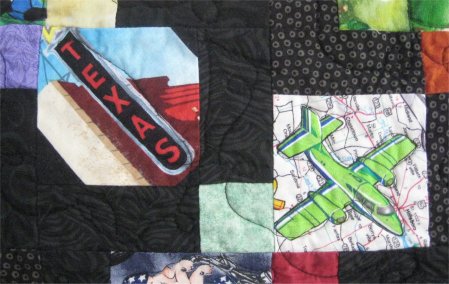 | A Texas sign and another airplane |
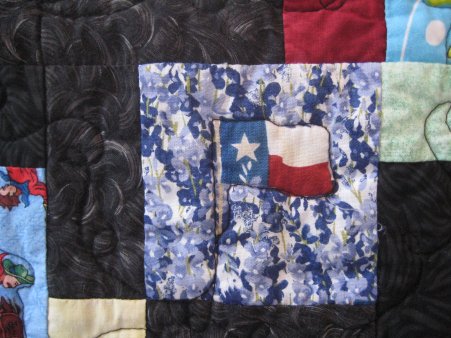 | A Texas flag and bluebonnets |
 | the USAF official emblem |
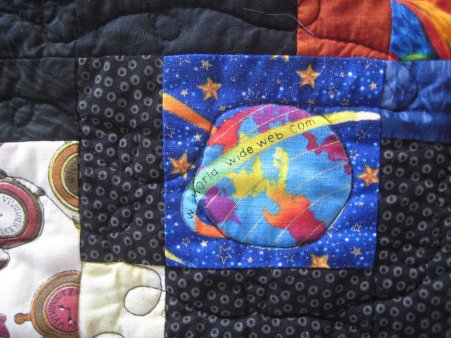 That left the quilting design to complete the quilt. Again, a major decision needed to be made. I knew I didn't want any all-over design, since that would ruin the focus of the novelty fabrics. What I opted for was a free-motion loop-de-loop sort of meander in the black sashing areas and outline quilted (as closely as I was able to) around the focus fabric objects. You can see this on the picture to the right ... the loop-de-loops in the sashing and the not-so-closely outlined Internet globe. Hey! YOU try making perfect circles on a longarm quilting machine! It's doggone tough! :-)
Oh .. and during the photo session to try and get a good picture of the quilt to display, we even had a photo bomb experience! :-)