Early American Tinware
Date center medallion made: July 2004.
Date quilt finished: March 2006


OMG ... I swear that I've fallen off the looney bin wagon. While on our annual family camping vacation recently, one of the highlights for me is to visit the one-and-only reasonably close local quilt store. It's a very small store, crammed with lots of fabric and projects on the walls that feature their fabrics. For those of you in the vicinity of Angels Camp, CA ... it's Country Cloth. Great store.
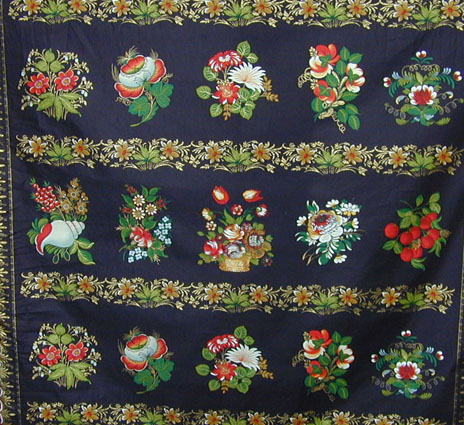
 I was picking out quarter yard selections for a BOM that I'm collecting fabric for (still need the background), when I saw a small wall hanging that featured tole-like painted motifs. Wow .. was it gorgeous! I inquired about it and found out that it was a project designed by the store to specifically spotlight Andover's "Early American Tinware" line of fabrics. Although the line has about 7-8 fabrics, the store was only stocking 4 ... a panel motif, an all-over background, a coordinating solid and a ribbon stripe. (I further discovered that the online store, Big Horn Quilts, apparently stocks the entire line. I further discovered that Andover has a truly incredible quilt made from this line, pattern available as a PDF from Andover.)
Once again, I was seduced by the Dark Side and bought the pattern and enough fabric to make the wall hanging. However, in reading the pattern, I realized that although it was designed for this specific fabric in mind, the directions were generalized. No color picture was included. I knew that if I didn't get the wall hanging done NOW while the project was in my head, I'd never, never, never remember which piece of which fabric went where.

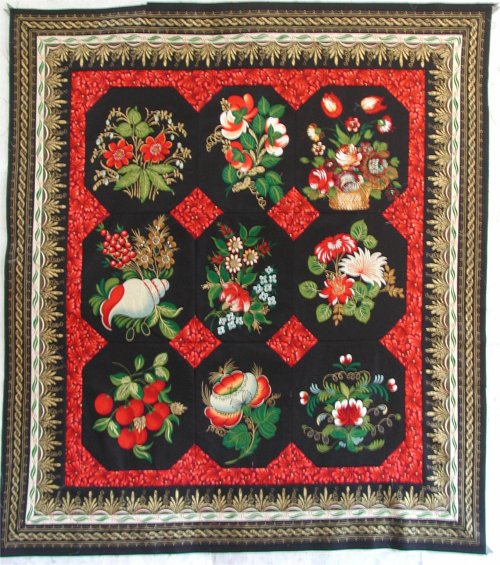
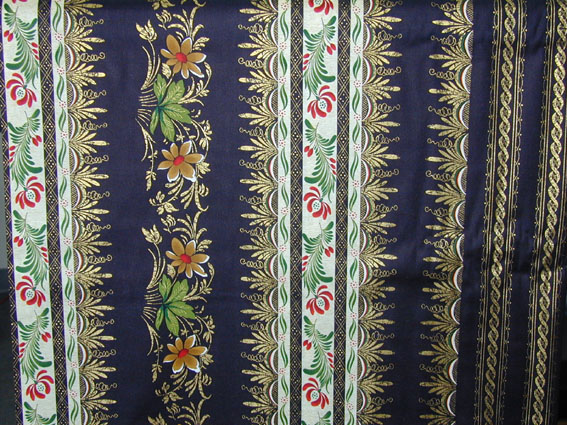
This wall hanging uses the panel fabric (which also includes some ribbon stripes that are different from the ribbon stripe fabric), 1 coordinating solid and the ribbon stripe. The panel motifs fabric are fussy cut apart; the coordinating solid is used as Snowball corners and inner borders. The ribbon stripes are fussy cut apart and re-combined to make a unique outer border.
The colors have absolutely NOTHING in common with anything in my house, but ya know ... it just doesn't matter! I really like it and it's gonna be hanging somewhere. :-) It's just a top at this point, because now that it's sewn together, I don't have to worry about remember how the different fabric motifs went together. :-) The picture above is of the completed (top only) wall hanging. Then I packed the center medallion away ... I had other things to work on *and* I didn't really have a need or use for a 24" square.
Flash forward to January 2006
I'm back on track to the Continuing Quest of finishing up my UFOs ... mainly to assuage my guilt feelings for having so many but also to free up all the storage space currently being occupied by those UFOs.

 Now, it is only under great duress that I do hand applique BUT .... I am learning how to digitize for my embroidery machine. So, I simply (HA!! "simply", she says!) used Andover's applique design as a template for
the digitized version. I then machine embroidered this design in the spacer strips. My digitzed red flowers can be seen on the spacer strips immediately above and below the center medallion.
The picture above is the completed (and more useful sized) quilt. You think that's the end of it, don't you? Haven't you figured out by now that NOTHING is EVER simple with me? :-)
Now my great ideas were going to get me into trouble. :-) Look below for all the pitfalls, roadblocks and abysses that I had to overcome to get myself a completed quilt!
 I had leftover border ribbon strips that I thought would make a great inner border ... but it was too narrow. Not to worry .. I had some companion prints in different scales, so I cut the small scale companion print and sewed it to one of the border ribbon strips to make the resultant border strip wider.
Alas, the linear length I had of the border ribbon strip wasn't quite enough to make all the way around the center medallion + spacer strips. I needed more fabric ... but I absolutely had NO MORE of the ribbon strip.
Not to worry .. I had pieces of another border ribbon strip that I inserted into the middle of each side. (See picture at left circle 3). At first, I merely sewed a chunk into the middle, but the straight vertical/horizontal seams looked horridly, horridly out of place. Then I got the brilliant idea of mitering the chunk so that the seam line would be at the same angle as the mitered corners and the accent diamonds in the center medallion. That looked much better. This resultant border strip surrounds the center medallion and the spacer strips.
 Then I put a second set of spacer strips on the top and bottom. I wanted to put another embroidered design in this spacer strip so I scanned one of the fabric border designs and used the scan as my digitizing template. This embroidered design is at circle 2.
That left one more border strip to put around the entire thing before I completely ran out of leftover border ribbon strips. Unfortunately, the really nice border strip I had leftover was NOWHERE near long enough to go around and once more I needed to conjure up more fabric. Not to worry ... another element of the border strip fabric was a floral strip. I just sewed this floral strip to the leftover border ribbon strip to create a length that was just EXACTLY enough. Again, when I sewed the floral strip to the border strip, I angled the seam to complement the mitered corners (circle 4).
I must admit that I'm pretty pleased with pulling several rabbits out of the hat (so to speak) to create the lengths of borders that I needed. I'm also very pleased with my digitizing efforts, as elementary as they are.
Flash forward to March 2006
I got the quilting finished by myself! Stippling went around center medallion motifs and around digitized the folk art flowers. I did a stitch in the ditch between most ribbon border strips and a loopy quilting in one of the companion floral prints. Outline quilting went around the digitized rope design and many printed flowers.