Stained Glass Challenge, part 3
Passing Through Stained Glass
the final project
Date made: August 2001
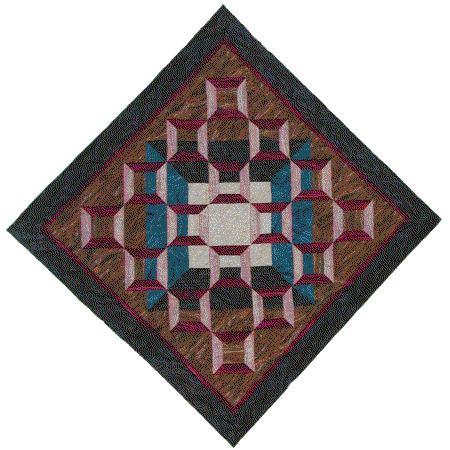

This is the continuing saga, and final installment, of my quest for an entry to Poppies Fabrics RJR Challenge Quilt.
Now the deadline for the Challenge was drawing nearer and I didn't have my pizzazz quilt anywhere in sight. I was disappointed because if I was going to enter a quilt, I wanted to to be a good sample of my work. Yes, I am competitive! :-) A few days later, I was at my LQS with my oldest daughter, Catherine. As I was indulging myself by fondling the fabric, Catherine was passing the time by perusing the quilting books. She called my attention to one and we oooohhhhh'd and ahhhhhh'd over the designs. One of the designs for which a pattern was given, caught my eye immediately. THIS was the design I needed to make for the Stained Glass Challenge! I bought the book. :-)
The book is "Shadow Quilts" by Patricia Maixner Magaret and Donna Ingram Slusser. While it does have a few quilts you can duplicate in it, it is mainly a concept book: taking the individual block design and essentially enlarging it so the design becomes a huge background "shadow" .. sorta like a watermark on paper. It's an intriguing concept. The design from their book that caught my eye is called "Passing Through". Since I was making it out of the Stained Glass fabric, I called mine (obviously), "Passing Through Stained Glass" ... and the final result is what you see at the top of the page.
This design calls for 3 highly contrasting colors, each with a dark and light component, resulting in 6 fabrics needed for the quilt top. Since I was using only the Stained Glass line, I was constrained by what the stores had in stock. With the deadline drawing ever nearer, I didn't want to be traveling all over the countryside looking for fabrics and I didn't want to wait for an online order to arrive (for this design to be effective the 6 colors have to play nicely together .. something I didn't want to trust to the colors on my computer monitor.) So, I simply chose from the stock that my local quilt store had. This was not quite as simple as it sounds, since the interplay and contrast of the colors was very important. The store had quite a selection of Stained Glass fabric, but alas, not all of them fell into the category that I needed. Some I really liked, but no companion color was available. Some had the requisite dark/light shades but I didn't care for them. In the end, I did find the 6 fabrics in the 3 colors I needed .. and I'm very pleased with them. :-)
 The fabrics I chose were blue, pink/fushia and tan/brown. This is where my second mistake took place (you knew there was going to be another one, right?) It wasn't until I sewed the first blocks together and put them up on my design wall that I realized that ... doggone it! ... these were directional prints!!! AARRRGGGHHHH!!! To my utter digust and annoyance, I realized that I was going to have to frog-stitch some of them to get the direction of the print going the correct way.
"Frog-stitch"??? What's that?, you ask. Well ... that's when you have to unstitch what you've just sewn. You know .. rip-it, rip-it. :-) Oh, and by the way, all seam rippers are named Jack. Why? you now tentatively ask ... Well, that's because they are ..... Jack the Ripper. :-)
Meanwhile, back at the sewing machine ... the actual block construction wasn't so difficult, though there are a lot of set-in seams. It was keeping track of what color went where that caused me the most grief. I had completed all 4 of the blocks that are at the outer points and had put them up on the design wall, when I noticed that the color wasn't flowing the way it should have. Well.. drats (and other expletives deleted) .. I had sewn the wrong colors in the wrong areas! [sigh] Time for some more frog-stitching.
At this point, I decided I better lay off the Kahlua and cream.
Paying more attention to what color went where, I was able to successfully finish piecing the top without any further mishaps. In addition to being careful to match all the corners, etc and accurately sew the set-in seams, I was now focused on ensuring that the lines of the brown/tan sections all went in the same direction. Also, I made sure that the brown float borders were going in the same direction as the areas they were adjacent to.
I'm still a neophyte when it comes to home machine quilting, so this is an area where I don't experiment too much, at this time. I simply duplicated the quilting that was shown in the book: the pink/fushia blocks were stitched-in-the-ditch with like-colored thread; the blue areas were horizontally or vertically stitched, depending on their orientation, in like-colored thread; and the tan/brown areas were stippled in Superior Threads "Glitter" (color 114), which is a holographic thread and looks rather like an oil-slick on the freeway. Stippling is still a stressful quilting technique for me simply because of the randomness required and I was pleased when I finished that part of it.
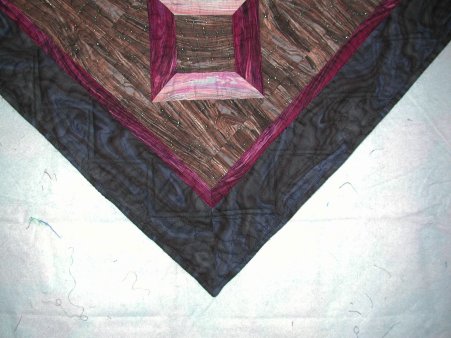 The quilt looked as though it were going to lay flat quite nicely, so I bound it with bias double fold binding in the dark blue.
I was annoyed when I realized that this was turning out to be a very friendly quilt ... those darn edges were waving at me! The expert I consulted for this problem said that there was an uneven amount of quilting that was causing the edges to ripple. To help allieviate the problem, I needed to put more quilting in the border area. I did so by duplicating the points of the boxes as triangles and stippling in dark blue thread along the outer triangular areas.
This seemed to bring the rippling down to a manageable level, although the quilt still doesn't lie absolutely flat.
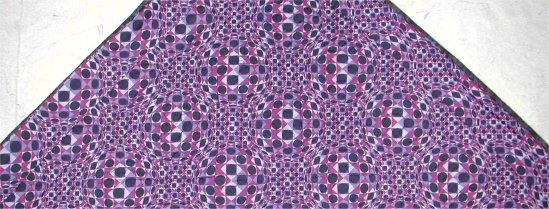 For the backing fabric, I originally thought of using a stained glass design fabric, but none was in stock in the store. Fortunately, I was able to find a Nancy Crow fabric, appropriately titled, "Optical Illusion".
I wanted to hang this quilt on-point, as it seemed to me to enhance the 3D effect ... but how to manage this and not have the top edges flop over? Time to put my thinking cap back on. Obviously, the top edges needed to be stablized somehow to make them rigid enough hang but the stablizers need to be removeable so the quilt could be washed. My solution was to put hanging sleeves on each top edge, slip a PVC pipe through each sleeve and connect the PVC pipes with a right-angle joint. The quilt hangs from the right-angle joint on my wall from a hook. Gravity forces the quilt to hang straight down .. no leveling required! :-)
I was able to finish this quilt well before the deadline .... thanks to judiciously shirking my Domestic Goddess duties, harassing Mr. Pirate's daughters to do their domestic chores [my daughters would have done such activities without my even asking. ;-) ] and procrastinating about doing client work for my home business (well ... as long as I met the clients' deadlines, it didn't really matter when I actually got the work done... although I didn't particularly enjoy pulling some all-nighters. But, isn't that what deadlines are for?? To get things done by? :-) ) I sent an email picture of the quilt to Poppies Fabrics and was ecstatic when I got an email back saying that they definitely wanted me to send the quilt up to them for Round 2. :-)
As of this writing, the competition deadline hasn't arrived yet, so I don't know the final outcome. But I do hope for the best. :-)
Notes as of October 2001: Poppies Fabrics finished the judging and a generic email went out to all of their customers on a Friday: results would posted on their website the following Monday! Oh my .. talk about an agonizing wait!
Bright and early Monday morning I looked at the website .. no results. Checked again a little while later. No results. I called them mid-morning and found out that they were working on the website even-as-we-spoke! Oh good! :-) Checked the website at lunch time ... no results. [sigh] It wasn't until late afternoon that I got a specific email announcing the website had been updated with the results.
The website stated:
                                  PoppiesFabric.com
                        Stained Glass Challenge Results

We had so many wonderful entries, it was difficult to choose even the finalists,
 not to mention the winners! But our judges did an admirable job, and listed
      below are the top four winning quilts (the 4th really deserved to be a
                   winner, so we created an Honorable Mention!)
And the GRAND Prize winners:
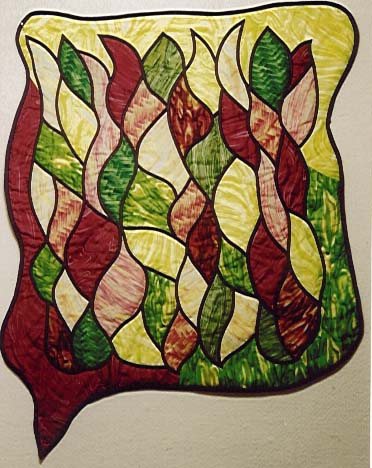 | 1st Place: Jeannie Hoffman |
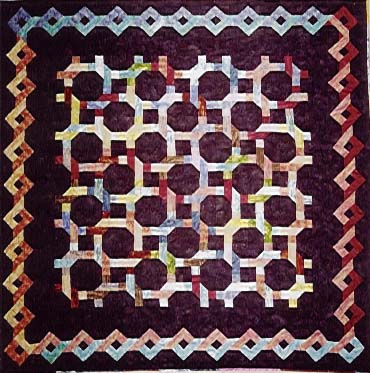 | 2nd Place: Carrell Zimmermann |
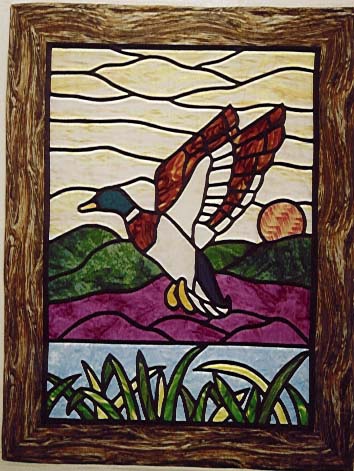 | 3rd Place: Judy Fry |
| Honorable Mention: Shelley Rodgers (see picture at top of page!!)[WOO HOO!] |
And the rest of the finalists are:
| Denise Ware | 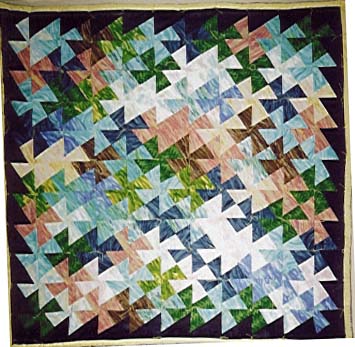 |
| Brenda Close | 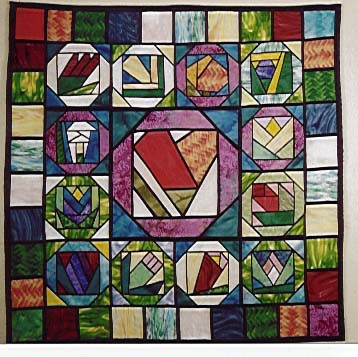 |
| Shirley Canty | 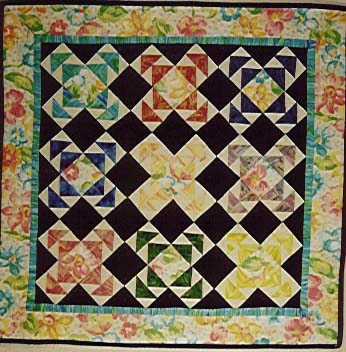 |
| Betty Donahue | 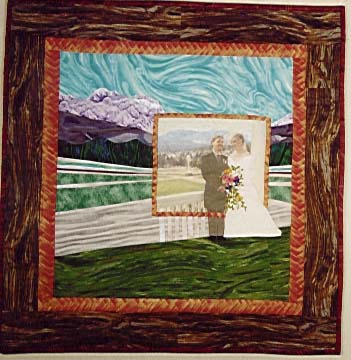 |
I am soooooooooooooooooooooooooooo jazzed at not only the recognition but an award! [very pleased smile!] I do believe it's time for an extended Snoopy Dance! :-)