Alternating 9-patch
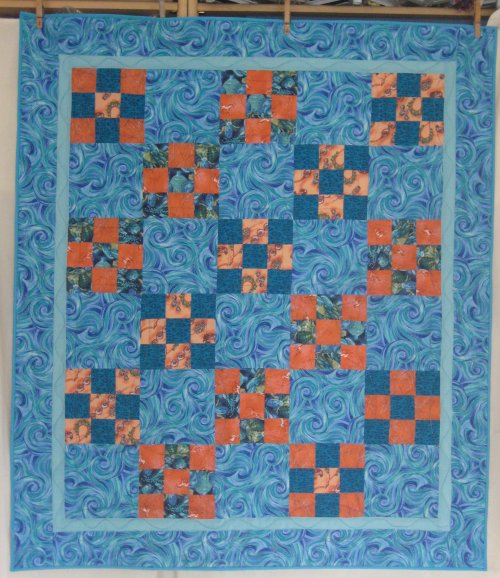
size: 36" x 48"

Some time ago, I obtained quite a bit of quilting fabric from a member of our local Freecycle group. Most of the fabric wasn't in my interest range nor in my regular palette, but it was good quality fabric. I earmarked the lot to be used for my charity quilts.
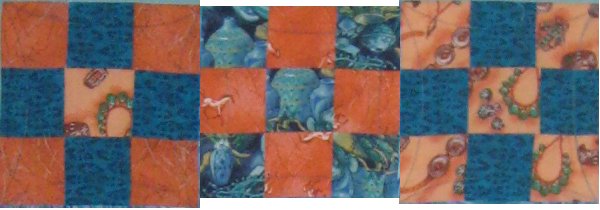
The Freecycle fabrics used in the 9-patch blocks came from a collection of coordinating fabrics; I mixed them up to make the 9-patch blocks. The plain blocks and border fabrics came from my stash.
Because I had a sufficient number of them, I simply alternated them with plain blocks. These were contained by a narrow turquiose border and then the final, wider border in the same fabric as the plain blocks.
The swirly nature of the plain blocks and outer border fabric give the quilt a very vibrant and hectic feel .. as though something is always in motion! However, this very attractive feature also made any quilting virtual invisible.
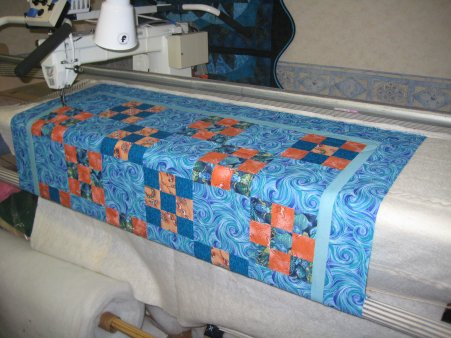 Eventhough this is a small quilt, I *still* get so pleased with myself that the top is loaded so evenly! It is with considerable angst that I load the backing .. is it centered? is it square? is it straight? Ditto with the top .. if the quilt isn't loaded evenly, no amount of quilting will ever fix it.
But, doggone it! Look at the line of blocks across the first rail! So even! Woo hoo! :-) Yes, it *is* the simple things in life that make me happy. :-)
My initial thought was to do a continuous curve in all the squares of the 9-patch and a larger continuous curve in the plain blocks. But once I got the top loaded onto Lizzie, to tell the truth, doing all those small continuous curves was more time than I really wanted to spend on it.
I revised my expectations and simplified ... I'd treat the 9-patch blocks as though they weren't! They would get the same large continous curve as the plain fabric blocks. That would make my life easier as far as quilting went.
 |
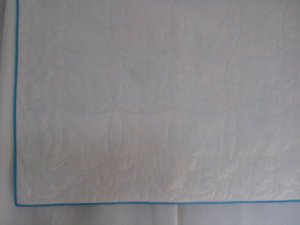 |
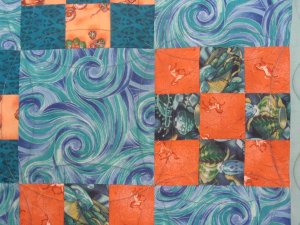
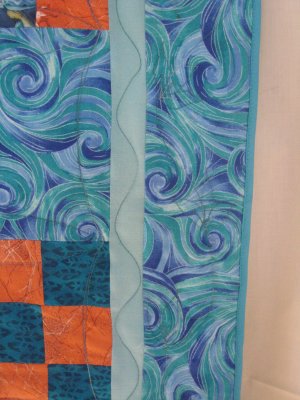
Take a look at these 2 pictures: they show the continuous curves on the front and back. Due to the nature of the swirly fabric, you can hardly see the quilting at all. But the back shows how nice the design is. I really, *really*, REALLY like continuous curves. :-) With a template, they are easy to do and looks so wonderful. |
 |
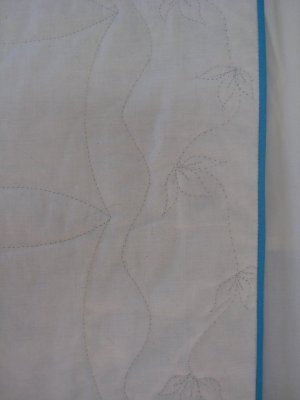
Eventhough the quilting wasn't going to show on the busy fabric, I wanted to do one of the freemotion meanders that I had been practicing from Darlene Epp's set of "Pocket Guide to Freehanding" books. The trillium leaf was particularly nice to do. Obviously, you can see it much better on the backing than from the front.
However much *practice* I do with a quilt design, it never feels "real" until I do it on a quilt. I had done a fair amount of the trillium leaves on a practice piece but now that they are on a real quilt, I feel that I've actually accomplished something. :-) These pictures show the same quilting, front (on the left) and backing (on the right). So that the narrow inner turquoise border wouldn't get "puffy", I held it down with a simple wavey line. heh .. this was my learning experience for this quilt: I just eyeballed the wavy line and it didn't turn out too evenly spaced. Lesson learned: put some tick marks at regular intervals so that I know how the spacing of the waves is to be! |
 |
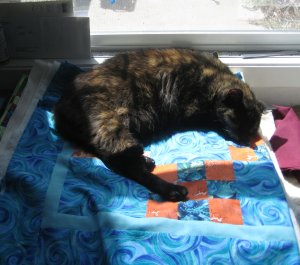 As usual, my in-house Quilt Inspector was johnny-on-the-spot, making sure that the workmanship was up to industry standards ... for napping! :-)